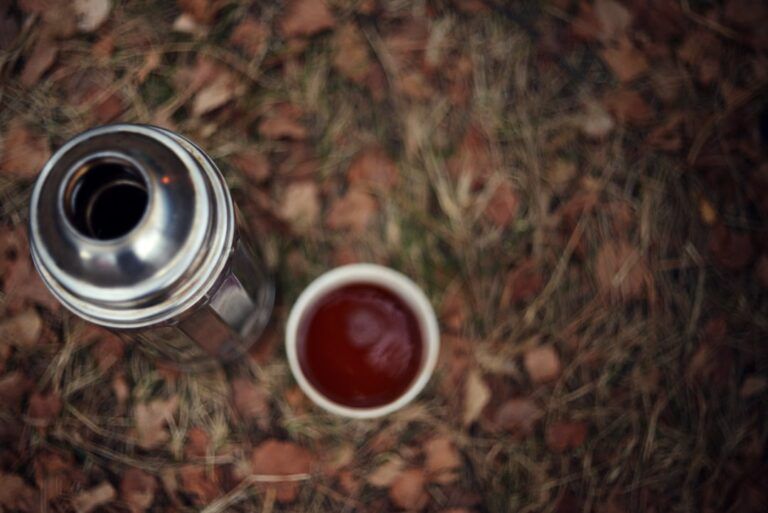
DIY thermos decoration is a fun and creative way to personalize your thermos and make it stand out from the crowd. By adding your own unique touch, you can transform a plain and ordinary thermos into a work of art that reflects your personality and interests. Whether you’re a fan of bright colors, intricate designs, or inspirational quotes, there are endless possibilities for decorating your thermos.
One of the main benefits of decorating your own thermos is the ability to express yourself and showcase your creativity. Instead of settling for a generic design, you can create something that is truly one-of-a-kind. Additionally, decorating your thermos can also make it easier to identify in a crowded setting, such as at school or in the office. It can also serve as a conversation starter and allow you to share your artistic talents with others.
Key Takeaways
- DIY Thermos decoration is a fun and creative way to personalize your thermos.
- Materials required for thermos decoration include paint, brushes, stencils, decoupage glue, glitter, and embellishments.
- Choosing a theme for your thermos can be based on your personal interests or a special occasion.
- Painting and decorating techniques for thermos include using masking tape, sponges, and stencils.
- Creating a personalized design for your thermos can be achieved through freehand painting or using stencils and decoupage.
Materials Required for Thermos Decoration
Before you begin decorating your thermos, it’s important to gather all the necessary materials. Here is a list of materials you will need for this project:
1. Thermos: Choose a thermos that is suitable for painting and decorating. Stainless steel or plastic thermoses work best.
2. Paint: Acrylic paint is ideal for this project as it adheres well to different surfaces and dries quickly. Choose colors that match your desired theme.
3. Brushes: Invest in a variety of paint brushes in different sizes to allow for different painting techniques.
4. Stencils: Stencils are great for creating intricate designs on your thermos. Look for stencils that match your chosen theme.
5. Glitter: If you want to add some sparkle to your thermos, glitter is a must-have. Choose colors that complement your design.
6. Mod Podge: Mod Podge is a popular decoupage medium that can be used to adhere paper or fabric to your thermos.
7. Embellishments: Consider adding embellishments such as rhinestones, beads, or charms to give your thermos a unique and personalized touch.
Choosing a Theme for Your Thermos
When it comes to choosing a theme for your thermos, the possibilities are endless. The key is to select a theme that suits your personality and interests. Here are some tips for selecting a theme:
1. Consider your hobbies and interests: If you’re a nature lover, you might choose a theme inspired by flowers, animals, or landscapes. If you’re a sports enthusiast, you could opt for a theme related to your favorite team or sport.
2. Think about your favorite colors: Choose colors that you love and that make you feel happy and inspired. You can use these colors as the basis for your theme.
3. Look for inspiration: Browse through magazines, websites, or social media platforms for inspiration. You can also look at other decorated thermoses for ideas.
Some popular themes for thermos decoration include floral designs, geometric patterns, abstract art, and inspirational quotes. However, don’t be afraid to think outside the box and come up with your own unique theme.
Painting and Decorating Techniques for Thermos
Once you have chosen a theme for your thermos, it’s time to start painting and decorating. Here are some step-by-step instructions to help you achieve a smooth and even finish:
1. Clean the thermos: Before painting, make sure the surface of the thermos is clean and free from any dirt or oils. Use soap and water to wash the thermos and dry it thoroughly.
2. Prime the surface: If you’re painting a stainless steel thermos, it’s recommended to apply a primer first to ensure better adhesion of the paint. Follow the instructions on the primer packaging for best results.
3. Apply the base coat: Start by applying a base coat of paint to the thermos. This will serve as the background for your design. Use a brush or sponge to apply the paint evenly and allow it to dry completely.
4. Add details and designs: Once the base coat is dry, you can start adding your desired designs and details. Use different brushes and techniques to achieve the desired effect. You can also use stencils to create intricate patterns.
5. Let it dry: Allow the paint to dry completely before moving on to the next step. This will prevent smudging or smearing of the design.
6. Apply a top coat: To protect your design and ensure it lasts, apply a top coat of clear sealant or varnish. This will also give your thermos a glossy finish.
Creating a Personalized Design for Your Thermos
To make your thermos truly unique, consider adding a personalized design. Here are some ideas for customizing your thermos:
1. Your name or initials: Use stencils or freehand techniques to add your name or initials to your thermos. This will make it easy to identify and add a personal touch.
2. Favorite quotes or sayings: If you have a favorite quote or saying that inspires you, consider adding it to your thermos. You can use stencils or freehand techniques to write the text.
3. Symbols or icons: If there are symbols or icons that hold special meaning for you, incorporate them into your design. This could be anything from a heart shape to a peace sign.
When creating a personalized design, it’s important to consider your personal style and preferences. Choose elements that reflect who you are and what you love.
Adding Text and Quotes to Your Thermos
Adding text and quotes to your thermos can be a great way to express yourself and share your favorite words of wisdom with others. Here are some techniques for adding text and quotes to your thermos:
1. Using stencils: Stencils are a great tool for adding text to your thermos. Choose stencils with the desired font and size, and carefully position them on the thermos. Use a brush or sponge to apply the paint evenly over the stencil, and carefully remove the stencil to reveal the text.
2. Freehand lettering: If you have good handwriting or calligraphy skills, you can freehand the text directly onto the thermos using a fine-tipped brush or marker. Practice on a piece of paper first to ensure you’re happy with the result.
3. Transferring text: Another option is to print out your desired text or quote on transfer paper and then transfer it onto the thermos using heat or water. Follow the instructions on the transfer paper for best results.
When choosing the font and size for your text, consider the overall design of your thermos and make sure it complements the other elements.
Using Decoupage to Decorate Your Thermos
Decoupage is a popular technique that involves adhering paper or fabric to a surface using a special glue or medium. It can be a great way to add texture and interest to your thermos. Here’s how you can use decoupage to decorate your thermos:
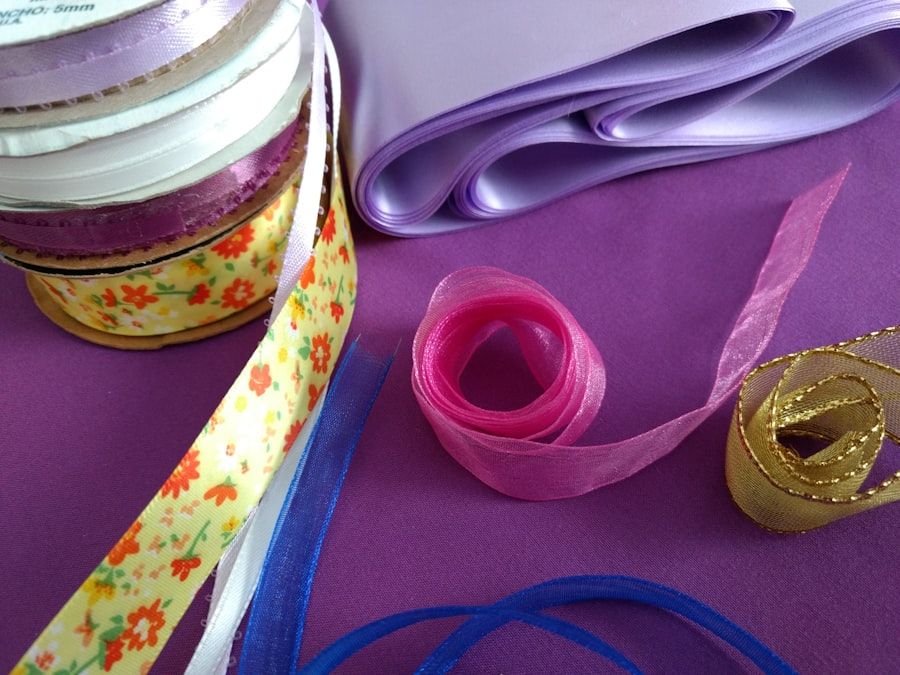
1. Choose your materials: Select paper or fabric that matches your chosen theme. This could be anything from patterned scrapbook paper to vintage maps or even fabric scraps.
2. Cut out your desired shapes: Use scissors or a craft knife to cut out shapes or patterns from your chosen material. You can also tear the material for a more rustic look.
3. Apply decoupage medium: Apply a thin layer of decoupage medium, such as Mod Podge, to the back of your cut-out shapes and press them onto the thermos. Smooth out any air bubbles or wrinkles with your fingers or a brush.
4. Seal the design: Once all the shapes are in place, apply another layer of decoupage medium over the entire design to seal it and protect it from wear and tear.
Decoupage can be a fun and versatile technique that allows you to create unique and eye-catching designs on your thermos.
Tips for Using Stencils on Your Thermos
Using stencils can be a great way to create intricate and detailed designs on your thermos. Here are some tips for using stencils effectively:
1. Secure the stencil: Use tape or adhesive spray to secure the stencil in place on the thermos. This will prevent it from moving or shifting while you’re painting.
2. Use a stippling technique: Instead of brushing the paint onto the stencil, try using a stippling technique. This involves dabbing the paint onto the stencil using a sponge or stippling brush. This will help prevent bleeding and create a clean and precise finish.
3. Remove the stencil carefully: Once you have finished painting, carefully remove the stencil from the thermos to reveal your design. Make sure to lift it straight up to avoid smudging or smearing the paint.
4. Clean the stencil between uses: If you’re using the same stencil for multiple designs, make sure to clean it thoroughly between uses to prevent any paint buildup.
By following these tips, you can achieve professional-looking results with stencils on your thermos.
Applying Glitter and Embellishments to Your Thermos
If you want to add some sparkle and shine to your thermos, consider using glitter and embellishments. Here are some ideas for incorporating these elements into your design:
1. Glitter accents: Use a small brush or sponge to apply glue or Mod Podge to specific areas of your design, then sprinkle glitter over the glue. Shake off any excess glitter and allow it to dry completely.
2. Rhinestones or beads: Use a strong adhesive, such as E6000, to attach rhinestones or beads to your thermos. You can create patterns or designs using these embellishments.
3. Charms or pendants: Attach small charms or pendants to your thermos using jump rings or strong adhesive. This can add a unique and personalized touch to your design.
When applying glitter and embellishments, make sure to do so in a well-ventilated area and allow them to dry completely before handling the thermos.
Finishing Touches: Sealing and Protecting Your Thermos Decoration
To ensure that your thermos decoration lasts and stays looking great, it’s important to seal and protect it. Here are some tips for sealing and protecting your thermos decoration:
1. Choose the right sealant: There are different types of sealants available, such as clear varnish or spray sealant. Choose one that is suitable for the materials you used in your design.
2. Apply multiple coats: To ensure maximum protection, apply multiple coats of sealant, allowing each coat to dry completely before applying the next one.
3. Follow the instructions: Read and follow the instructions on the sealant packaging carefully for best results. Some sealants may require specific drying times or application techniques.
4. Handle with care: Once your thermos is sealed and protected, handle it with care to avoid scratching or damaging the design. Avoid using abrasive cleaners or scrubbing brushes on the decorated areas.
By taking these steps to seal and protect your thermos decoration, you can enjoy your personalized design for years to come.
Decorating your own thermos is a fun and creative project that allows you to express yourself and showcase your artistic talents. By following the steps outlined in this article, you can transform a plain and ordinary thermos into a personalized work of art that reflects your personality and interests. Whether you choose to paint, decoupage, or add embellishments, the possibilities for thermos decoration are endless. So why settle for a generic thermos when you can create something truly unique and special? Give DIY thermos decoration a try and make your thermos stand out from the crowd.
If you’re looking for more inspiration on how to decorate your thermos, you might want to check out CoffeeThermos.info. They have a great article about the history and importance of coffee thermoses, which can give you a deeper understanding of this essential accessory. Additionally, their website offers a wide range of thermos options, including the revolutionary 20 oz travel mug. So, whether you’re interested in learning more about coffee thermoses or finding the perfect one for your needs, CoffeeThermos.info has got you covered. Learn more here.
FAQs
What is a thermos?
A thermos is a container that is designed to keep liquids hot or cold for an extended period of time. It is typically made of stainless steel or glass and has a vacuum-sealed interior.
Why decorate a thermos?
Decorating a thermos can add a personal touch and make it easier to identify your thermos in a group setting. It can also be a fun DIY project.
What materials do I need to decorate a thermos?
Materials needed to decorate a thermos can vary depending on the desired design, but may include paint, stickers, washi tape, markers, and stencils.
What are some design ideas for decorating a thermos?
Design ideas for decorating a thermos are endless and can be tailored to personal preferences. Some ideas include using a favorite color scheme, adding a monogram or name, or creating a design inspired by a favorite hobby or interest.
How do I clean a decorated thermos?
Cleaning a decorated thermos should be done carefully to avoid damaging the design. It is recommended to hand wash the thermos with mild soap and water, avoiding scrubbing the decorated areas. It is also important to avoid soaking the thermos for extended periods of time.
Can I use a decorated thermos for hot and cold liquids?
Yes, a decorated thermos can be used for both hot and cold liquids, as long as it is designed for that purpose. It is important to follow the manufacturer’s instructions for use and care.